ACTIVITY A - Modeling Simple Shapes

Activity Brief:

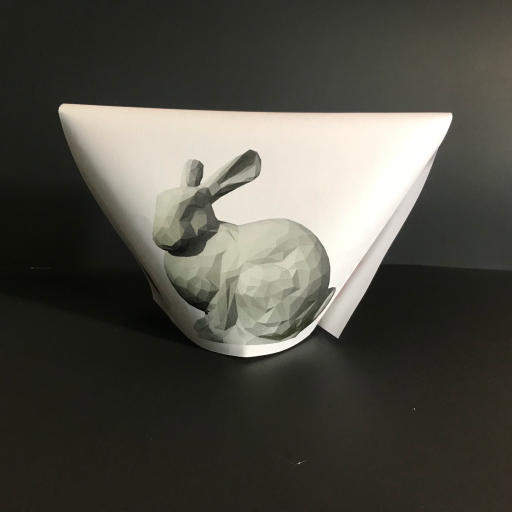
Explore a new CAD Modeling program by creating multiple simple shapes such as sphere, cube, pyramid,etc.

PrinterForm:

Play around with what printing form best fits your CAD shape. (curved form, rectangle form, etc).

Objective:

A simple introduction to 3D modeling and how PrinterForm can help transform digital 3D models into real life prototypes (without 3D printing).

Target Age Group:

Upper Elementary School

Recommended Tools:

Try using TinkerCAD or Fusion360 to model your 3D shapes.

Instructions

Step 1 - CREATE

Create simple 3D shapes using a CAD modeling software experiment with different tools. You can try making a sphere, cube, pyramid, etc.

Step 2 - MODIFY

Modify your modeled shapes until you find the one you're ready to print. Make sure its a solid for and able to be exported as a .STL file type.

Step 3 - UPLOAD

Upload your .STL file to PrinterForm and choose which print template best suites your shape. Look at how many sides and what geometry best matches your form.

Step 4 - PRINT & FOLD

Using standard 8.5” x 11” paper print your form on its corresponding template then follow the dotted lines and printed direction to fold and create your printed prototype.

Step 5 - SHARE YOUR WORK

Upload an image of your finished printed file to our gallery page and help us further develop this tool by providing your feedback at this PrinterForm Survey.